

Most people who struggle with streaky windows are not cleaning badly.
1. Why Window Streaks Keep Coming Back
Streaks are residue. They form when dirty water, cleaning solution or both dry on the glass instead of being removed.
Three habits make this worse. Cleaning in direct sunlight dries the solution before you can remove it. Using too much spray leaves a heavy film.
2. How a Window Vacuum Actually Works
A window vacuum combines a squeegee-style blade with suction. You apply a little cleaning solution, glide the blade across the glass, and the tool pulls the dirty liquid into a small onboard reservoir.
Most models are cordless and rechargeable, so you are not tethered to an outlet while moving from room to room. They are designed for smooth, non-porous surfaces such as windows, mirrors, glass doors and shower enclosures.
3. Who Benefits Most, and Who May Not Need One
A window vacuum earns its place in specific situations:
- Homes with many panes. Large windows, sliding doors and glass partitions add up quickly.
- Condensation-prone rooms. Winter moisture on bedroom and kitchen windows is easy to collect with a pass of the blade.
- Mirrors and shower glass. Flat surfaces that spot with water are good candidates.
- People who dislike drips. Collecting the liquid protects sills, curtains and floors.
If you have only a couple of small windows, a good squeegee and microfiber cloth may be enough.
4. Features That Matter When Choosing
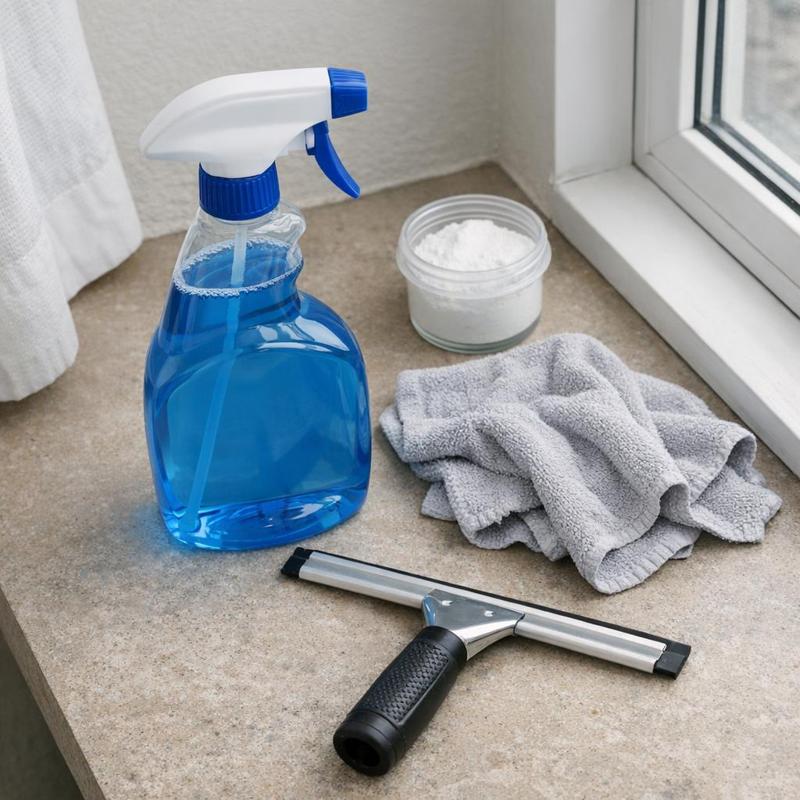
Rather than chasing a long specification list, focus on the details that affect daily use. Browse the full range of window vacuum cleaners with these points in mind:
- Blade quality and width. A straight, flexible blade makes consistent contact. A wider blade covers more glass per pass; a narrower one handles mirrors and small panes better.
- Reservoir size and ease of emptying. A small tank is fine for a few windows but means frequent pauses on larger jobs. Check that it opens cleanly without spilling.
- Battery and charging. Look at how the battery is charged and whether the tool can be used while recharging. Treat runtime claims as approximate and check the product details for specifics.
- Weight and grip. You will hold it at arm's length, sometimes overhead. A lighter, balanced body reduces fatigue.
- Included accessories. A spray bottle, microfiber pad or spare blade makes it ready to use immediately.
5. Prepare the Glass: The Step Most People Skip
Suction removes liquid well, but it does not scrub. If the glass carries dust, cobwebs or dried-on grime, the blade will drag that debris through your solution and leave marks.
Start with the frame and surrounding area. Loose dust on sills and in the channels will wash onto freshly cleaned glass if you leave it for last. Sliding doors and sash windows collect the most, and a dedicated set of window track cleaning tools lets you clear the grooves before any liquid touches the pane. Then wipe the glass lightly with a dry or barely damp cloth to lift surface dust.
Stubborn spots such as bird droppings, sap or hard-water deposits should be loosened first with a soft cloth and a little solution, then rinsed. Do not rely on suction to remove baked-on residue.
6. A Repeatable Technique for Streak-Free Results
Consistency matters more than speed. Try this sequence:
- Choose the right time. Work on overcast days or when the glass is in shade so the solution stays wet.
- Apply a light mist. Use a small amount of glass cleaner or a diluted mix. Heavy saturation creates more liquid than the tool should have to collect.
- Start at the top. Begin along the upper edge and work down so drips run onto uncleaned glass.
- Use steady, overlapping passes. Keep the blade flat against the glass and overlap each stroke slightly, moving at a moderate pace.
- Finish the edges. Run the blade along the perimeter, then wipe any remaining beads with a dry cloth.
- Empty the reservoir. Do this before it fills so suction stays consistent.
For windows above arm's reach, an extension option such as telescopic window cleaners may suit upper panes and tall glass doors better, since a handheld vacuum is meant for surfaces you can comfortably reach.
7. Common Mistakes and How to Fix Them
Most disappointing results trace back to a short list of causes:
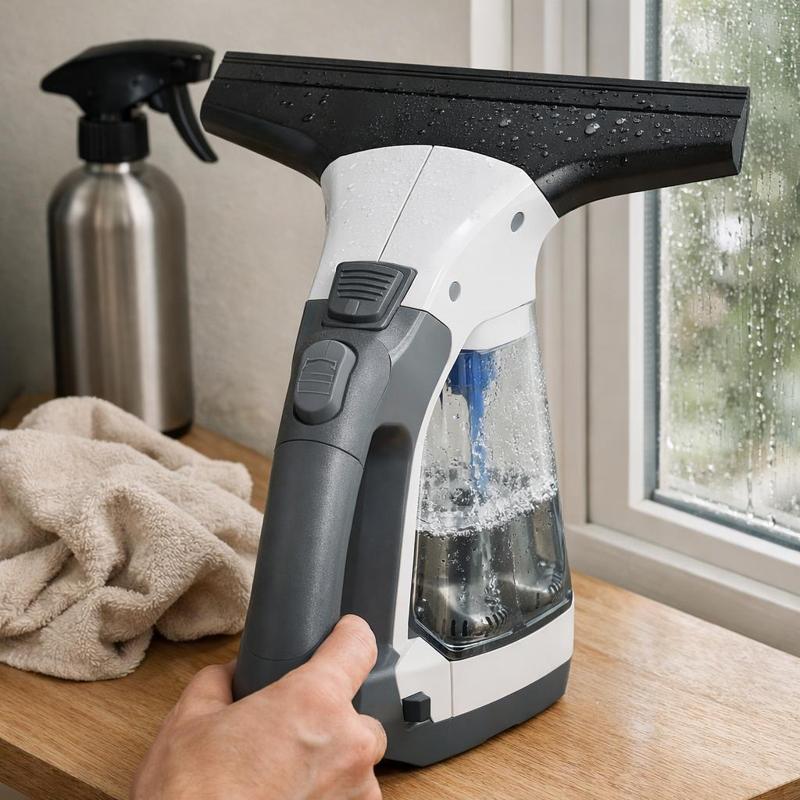
- Lines left at the bottom edge. The blade was lifted too early or the reservoir was full. Finish each pass fully and empty the tank often.
- Hazy patches. Too much cleaning solution, or a dirty blade. Use less liquid and wipe the blade between windows.
- Skipping or streaking on one side. The blade may be worn or bent. Inspect the edge and replace it if it no longer sits flat.
- Weak suction. A full tank, a blocked intake or a low battery are the usual causes. Check each before assuming the tool has failed.
- Dust streaks after drying. The glass was not dry-wiped first, or the frame shed debris onto it afterward.
8. Caring for the Tool Between Uses
A few minutes of care keeps performance consistent. Empty the reservoir after every session and let it air dry with the lid open to prevent odors and mildew.
Check the intake and seals for lint or debris, and wipe the body with a damp cloth. Store the tool in a dry place, and follow the manufacturer's guidance on charging and battery storage.
9. Where Window Vacuums Fit in a Larger Routine
Clean glass is only one piece of a tidy window area. Dust from blinds, sills and tracks settles back onto the pane, so the order of work matters. Clear blinds and high dust first, then tracks and sills, and clean the glass last. A set of blind cleaning tools handles slats quickly and keeps that dust from landing on your finished windows.
As for frequency, a monthly glass cleaning suits most homes, with extra passes for kitchens, bathrooms and windows facing roads or trees. Mirrors and shower glass often need attention weekly.
If you are comparing options for the whole job, from glass to tracks to reach, you can explore the range at our cleaning supplies store and pick only what your windows actually require.
10. Summary
Streaky windows usually come from residue and runoff, not poor effort. A window vacuum addresses both by collecting dirty liquid as you clean.
When choosing, weigh blade quality, reservoir size, battery handling, weight and included accessories rather than headline claims. Afterward, empty the tank, rinse the blade and store the tool dry.