

1. Why Most Shower Cleaning Feels Harder Than It Should
Most people do not dislike cleaning the shower because the job is long.
In most cases the problem is a mismatch between the tool and the type of residue.
The range of Shower Cleaning Tools can look confusing at first, with brushes, scrubbers, scrapers and extension handles all in one place. Once you know what each is designed to handle, the choice becomes simple.
2. What Is Actually Building Up in a Shower
Before choosing anything, identify the residue.
Soap scum. This is a chalky, slightly waxy film left when soap and body wash react with minerals in water. It is usually grey or off-white and feels slick or gritty. It builds fastest on the lower third of walls, on the tub edge and on shelves.
Hard-water deposits. These show up as cloudy spots or a rough white crust on glass, taps and shower heads. They form when water evaporates and leaves minerals behind.
Mildew and mould. Dark specks or pink and black patches appear where moisture lingers, especially in sealant lines, corners and around the drain. Poor ventilation makes this worse.
Body oil and product film. Shampoo, conditioner and skin oils form a thin, sticky layer. It traps dust and is often the reason a shower looks dull even right after rinsing.
A quick test helps. Run a fingertip across a wall tile.
3. Matching the Tool to the Surface
Shower surfaces are not all equally tolerant.
Brushes
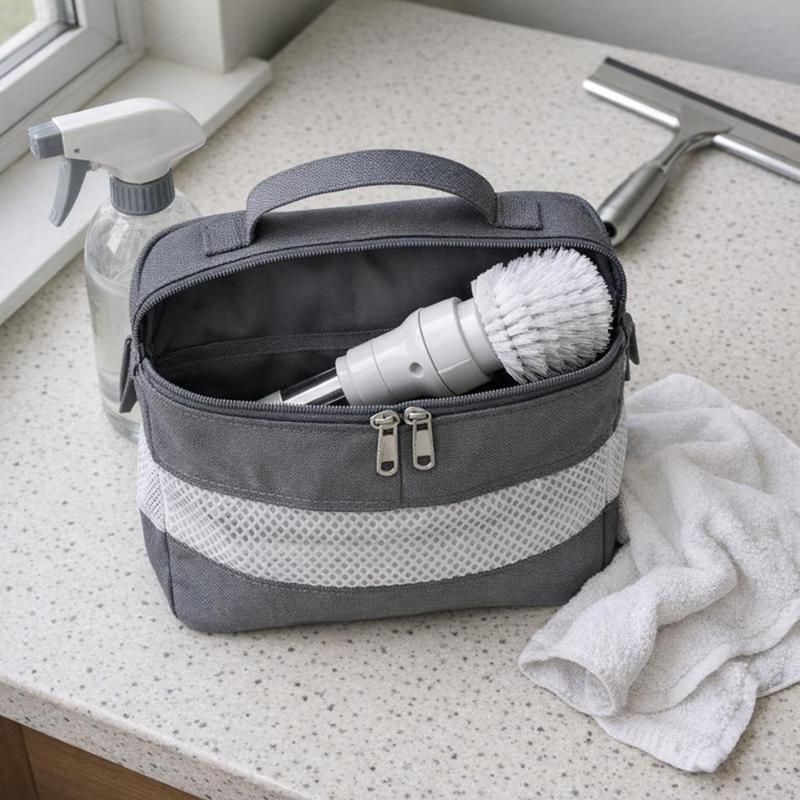
A medium-stiff brush suits glazed tile and textured tub floors.
Scrub pads and sponges
Non-scratch pads are useful for flat panels and soap film.
Squeegees and scrapers
A squeegee removes water before minerals can dry on the surface, which is the most effective way to cut down hard-water spotting. For glass in particular, the dedicated Shower Glass Cleaning Tools are built for streak-free results and for lifting film without scratching.
Detail tools
Narrow brushes and angled heads reach around taps, drain covers, door tracks and the corners where walls meet.
Powered options
If scrubbing by hand is the main obstacle, a powered brush can reduce effort on larger wall areas and the tub floor.
4. Reach, Handle Length and the Awkward Corners
Reach is where many shower routines fall apart.
An extendable handle solves both ends.
Consider these practical points:
- Choose a handle with a grip that stays secure when wet and soapy.
- Pick a head that can be swapped or replaced, so one handle serves several jobs.
- Check whether the head pivots. A pivoting head follows curves around tubs and corners.
- For shower enclosures with sliding doors, add a slim brush for the bottom track.
The ceiling corner is often overlooked. Mildew here is caused by steam rising and condensing. A reach tool can handle it, though for ceilings and fans beyond the bathroom, High Reach Cleaning Tools offer longer extension for dust and cobwebs.
5. A Simple Order of Work That Saves Effort
The sequence matters as much as the tools. Working in the right order means you do not redo areas.
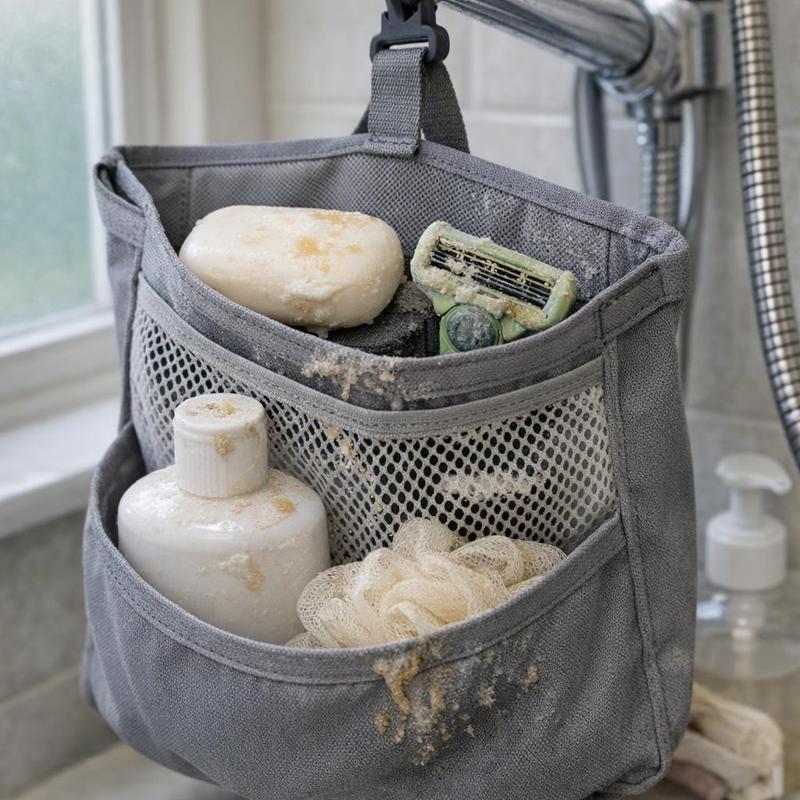
- Remove loose items. Take bottles and mats out so nothing blocks the surfaces.
- Wet the surface. Warm water softens residue and lets cleaning solution spread evenly.
- Apply your cleaner and wait. Dwell time does much of the work. Follow the product directions rather than scrubbing harder.
- Start high and move down. Clean the upper walls and fixtures first, so loosened grime falls to areas you have not yet done.
- Use the detail tools. Work around taps, seams and the drain while the surface is still damp.
- Rinse thoroughly. Leftover cleaner leaves a film that attracts new buildup.
- Squeegee and dry. Pull water from walls and glass, then wipe the fixtures.
Never mix different cleaning products, and ventilate the room while you work.
If the grout lines are the real trouble spot, the dedicated Grout Cleaning Tools use narrow, firm bristles designed to get into the joints without damaging tile faces.
6. Care for the Tools Themselves
A shower tool lives in the dampest room in the house, so it needs care of its own.
- Rinse after every use. Run hot water through the bristles to flush out soap and loosened grime.
- Shake and air dry. Hang tools with the head down so water drains away, ideally in a ventilated spot rather than a closed cupboard.
- Clean the squeegee blade. Wipe the edge and check it for nicks. A damaged blade streaks.
- Disinfect now and then. Soak brush heads in a mild solution monthly, then rinse well.
- Replace on schedule. Splayed, flattened or discoloured bristles clean poorly. A worn pad can also harbour bacteria.
- Check connections. If you use an extendable or powered tool, make sure joints and battery contacts are dry before storing.
7. Frequency: Daily, Weekly and Monthly
A little regular effort prevents the heavy scrubbing that makes shower cleaning feel dreadful.
| Task | What it prevents | Suggested frequency |
|---|---|---|
| Squeegee glass and walls | Water spots, mineral crust | After each shower |
| Wipe taps and shelves | Film, spotting | Weekly |
| Scrub walls and tub floor | Soap scum, body oil | Weekly to fortnightly |
| Detail clean seams, drain, track | Mildew, trapped debris | Fortnightly |
| Descale shower head and taps | Mineral clogging | Monthly |
| Wash and inspect tools | Spreading grime | Monthly |
Hard water, large households and poor ventilation all raise how often you need to clean.
8. Common Mistakes That Waste Effort
Several habits make showers harder to clean than necessary.
- Scrubbing dry. Dry surfaces need more force and are more likely to scratch.
- Using one tool for everything. A heavy brush on glass or a soft sponge on mildew does neither job well.
- Skipping the rinse. Cleaner residue becomes the next layer of film.
- Closing the door straight away. Trapped steam encourages mildew. Leave the door or curtain open and ventilate.
- Ignoring tile floors. Wet-area flooring collects its own residue, and Tile Cleaning Tools are better suited to that than a wall brush.
- Keeping worn tools too long. Replacing a tired brush is cheaper than the extra work it causes.
9. Summary and Next Steps
A clean shower is rarely about scrubbing harder.
Start by checking what your shower holds right now: film, minerals, mildew or a mix. Then choose a brush, a squeegee and a handle length that fit that picture. If you want to compare options for the rest of the home as well, you can browse the full cleaning supplies range and pick only what solves a problem you actually have.