

Most cooktop cleaning problems are not really cleaning problems. They are matching problems. A scraper that works beautifully on a glass-ceramic top can ruin a different finish, and a stiff brush that frees gas burner ports can leave dull tracks on a smooth surface. This guide helps you choose, use and look after stove and cooktop cleaning tools by starting with the one thing that decides everything: the surface you actually have.
1. Why One Tool Rarely Fits Every Cooktop
Cooktops are built from very different materials.
That is why the same scouring action can feel too weak on one stove and too aggressive on another.
A mismatched tool usually shows up in one of two ways: you scrub harder to compensate and scratch the finish, or you give up and let burnt-on residue harden further with every meal.
2. Identify Your Surface Before You Choose Anything
Spend two minutes on this step and you will avoid most mistakes.
- Smooth glass-ceramic or induction top: flat, glossy and easy to mark. It needs flat-edged scrapers held at a low angle and soft, non-abrasive pads.
- Gas cooktop with removable grates: more crevices, burner caps and ports. It benefits from brushes, small detail tools and soaking for grates.
- Electric coil range: drip pans and bowls catch spills below the coils. Pans are easiest to clean when lifted out and treated separately.
- Stainless steel surfaces: they show scratches that follow the grain, so soft cloths and gentle pads are safer than rough scourers.
If you are unsure, test any new tool on a small, hidden corner first.
3. Know the Three Kinds of Mess on a Cooktop
Residue is not all the same, and treating it that way wastes effort.
Fresh splatter is wet or lightly dried oil and sauce. It wipes away with a damp cloth and a little detergent, and it is the cheapest mess to remove.
Layered grease film is the sticky, slightly yellowed coating that builds from repeated cooking. It softens with warm water and a degreasing cleaner left to sit for a few minutes.
Carbonized burnt-on food is hard, black and bonded to the surface. It needs a controlled mechanical tool, such as a proper scraper, after the area has been loosened with moisture.
Knowing which one you face tells you how aggressive the tool needs to be.
4. Tool Types and Which Surface Each Suits
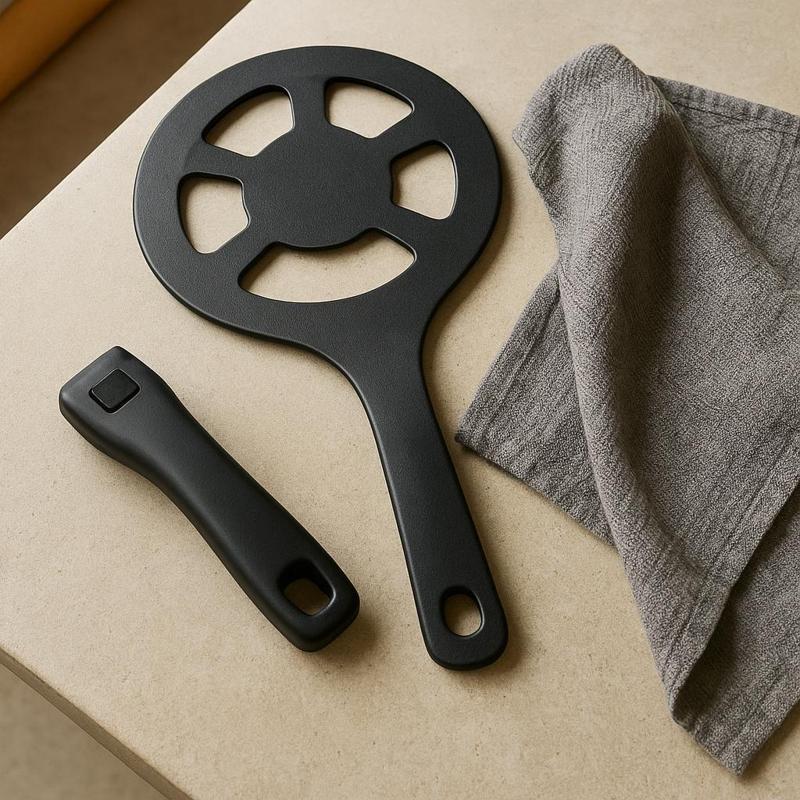
A well-chosen kit is usually small.
Scrapers with replaceable blades
Designed for flat glass-ceramic tops, a scraper lifts carbonized spots that a cloth cannot.
Non-scratch scrub pads and sponges
These handle layered grease on most surfaces.
Detail brushes
Stiff, narrow brushes reach burner ports, knob bases and the seams where a cooktop meets the counter.
Microfiber cloths
Used for the final wipe, they remove residue film and prevent streaking.
If your range has an oven below it, the baked-on residue there is a different challenge, and oven cleaning tools are built for those enclosed, heavily soiled cavities rather than the open cooktop.
5. How to Use Cooktop Tools Without Causing Damage
Technique protects the surface as much as the tool does.
- Cool completely. Cleaning a warm surface bakes cleaner onto the finish and can cause streaks or burns.
- Remove loose debris. Lift crumbs and dry bits with a dry cloth so they are not dragged across the top.
- Soften the residue. Apply a suitable cleaner or warm, soapy water and wait several minutes. Patience replaces force.
- Work gently. Use a pad in small, even strokes. For stubborn spots, use a scraper at a shallow angle, pushing in one direction.
- Wipe and rinse. Remove all cleaner, since leftover film attracts the next round of grime.
- Dry and buff. A dry microfiber cloth leaves a clear, even finish.
If a spot does not move after a couple of patient attempts, repeat the soaking step rather than pressing harder.
6. Gas Burners, Grates and the Small Parts People Forget
The flat top gets all the attention, but problems often start in the components around it.
Once the stove is off and cool, lift the grates and burner caps.
On coil ranges, remove the drip pans and clean or replace them as needed.
Do not overlook the knobs, the hood filter and the backsplash directly behind the burners. Splatter reaches all of them, and a quick wipe of each keeps grease from migrating back onto a freshly cleaned top. For other countertop appliances that collect the same sticky film, kitchen appliance cleaning tools cover microwaves, toasters and similar items.
7. A Cleaning Rhythm That Keeps Buildup Manageable
The hardest cooktop jobs are almost always the ones that were delayed.
- After heavy cooking: wipe the surface once it cools. This takes under a minute and prevents layering.
- Weekly: a fuller clean with a pad, followed by a dry buff. Check burner ports and grates for debris.
- Monthly: soak grates and caps, clean knob bases and the seams around the cooktop, and inspect scraper blades.
Cleaning more often with lighter tools is gentler on the surface than occasional heavy scrubbing.
While you are at floor level, remember that crumbs and grease drips collect beside and beneath the range. Under appliance cleaning tools reach those narrow gaps that a standard broom cannot.
8. Caring for Your Tools Between Uses
Tools that stay dirty spread dirt.
- Rinse pads and brushes after each use and let them air dry fully to prevent odor and mildew.
- Replace blades promptly. A dull or chipped scraper blade is a scratch risk rather than a saving.
- Launder microfiber cloths regularly, avoiding fabric softener, which can reduce their absorbency.
- Store tools together in a dry spot, with blades covered, so they are ready when a spill happens.
Retire any pad that has become flattened, greasy or shredded.
9. Summary: A Quick Selection Checklist
Choosing well comes down to a few honest questions.
- What surface is my cooktop, and what does the manual say about cleaning it?
- Which of the three mess types do I face most: splatter, grease film or burnt-on residue?
- Do I have crevices, ports or grates that need a detail brush?
- Will I clean lightly and often, or let it build up?
For most kitchens, a flat scraper for glass tops, a non-scratch pad, a detail brush and a dedicated microfiber cloth cover nearly every situation. When you are ready to build or refresh your set, you can browse the range at our cleaning supplies store and compare options against the checklist above.
The goal is not the strongest tool but the right one, used patiently and kept in good condition.